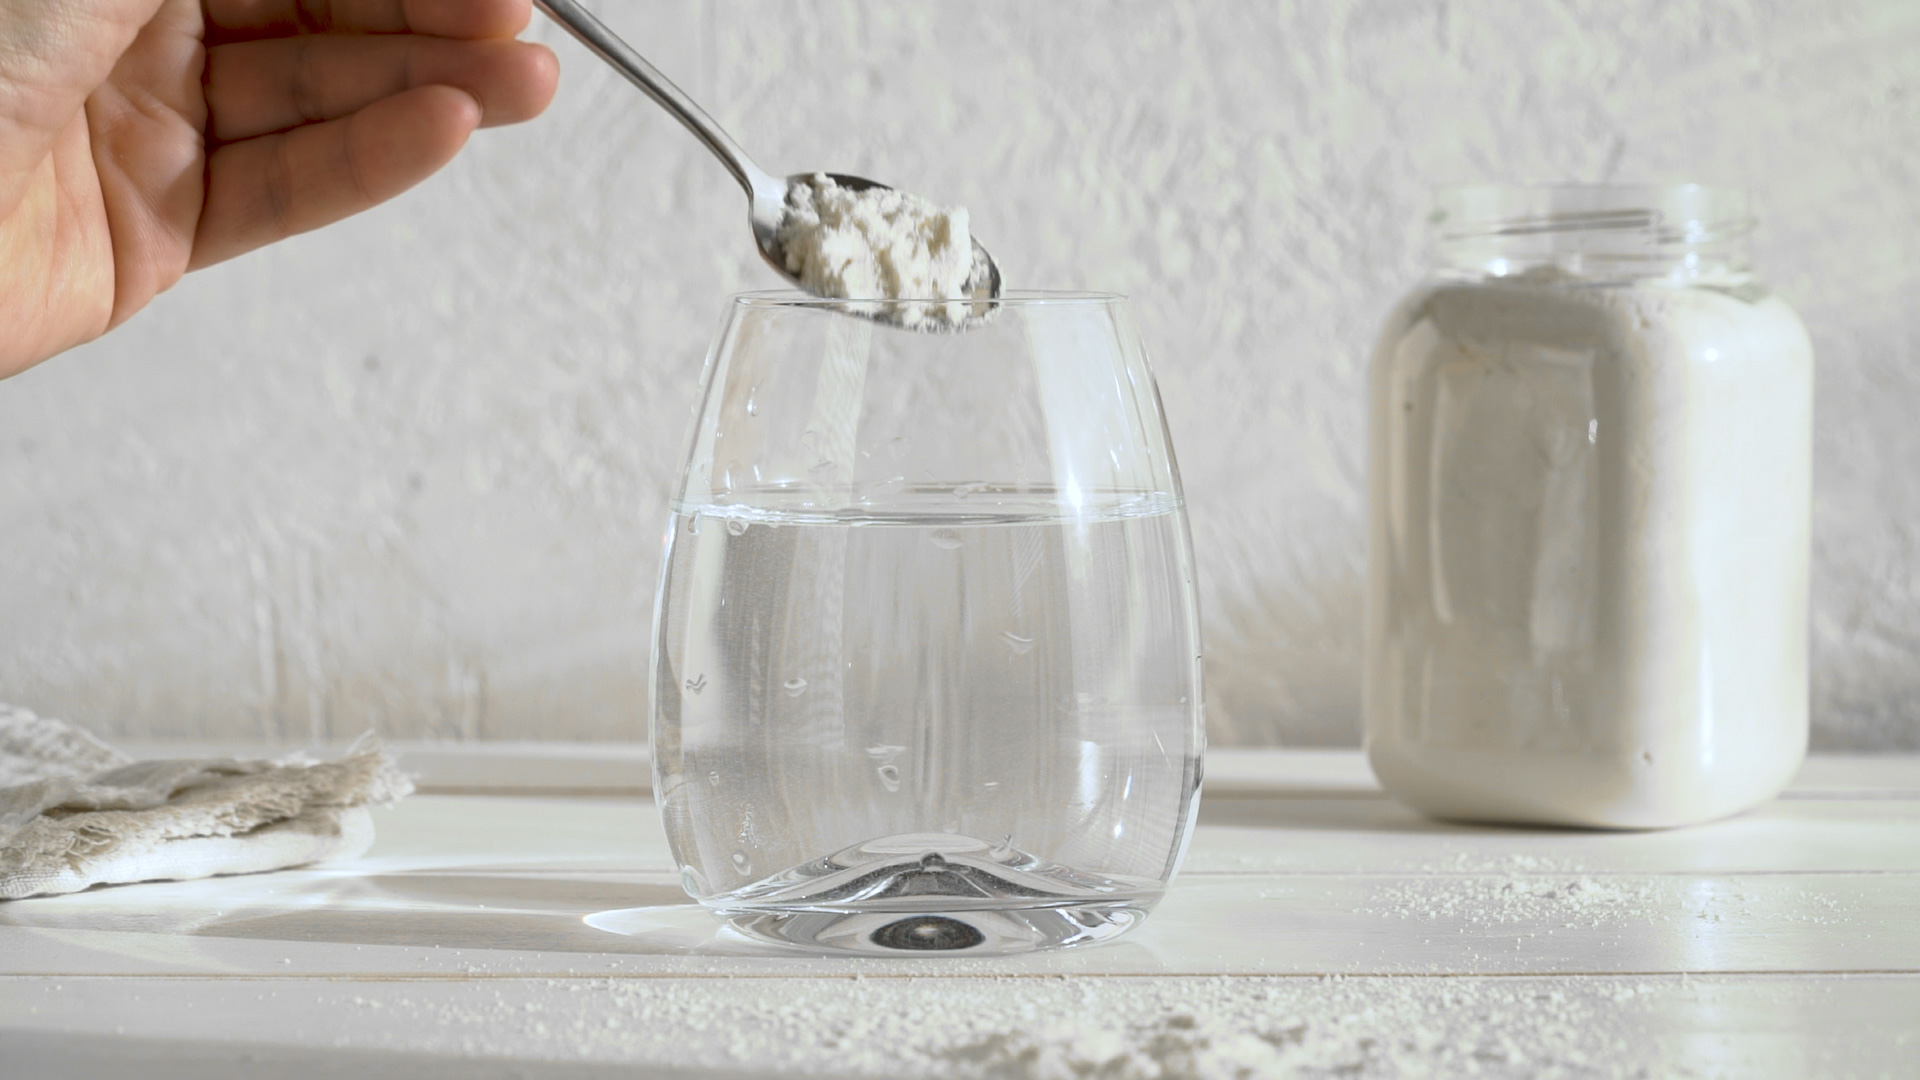
At times, the whites in your footage may appear tinted with yellow or orange, often due to a slightly incorrect white balance. This can pose significant challenges during post-production to fix while maintaining a natural look.
In this brief guide, I’ll share a simple technique to achieve brighter, more accurate whites in your videos!
Eliminating Yellow Tints
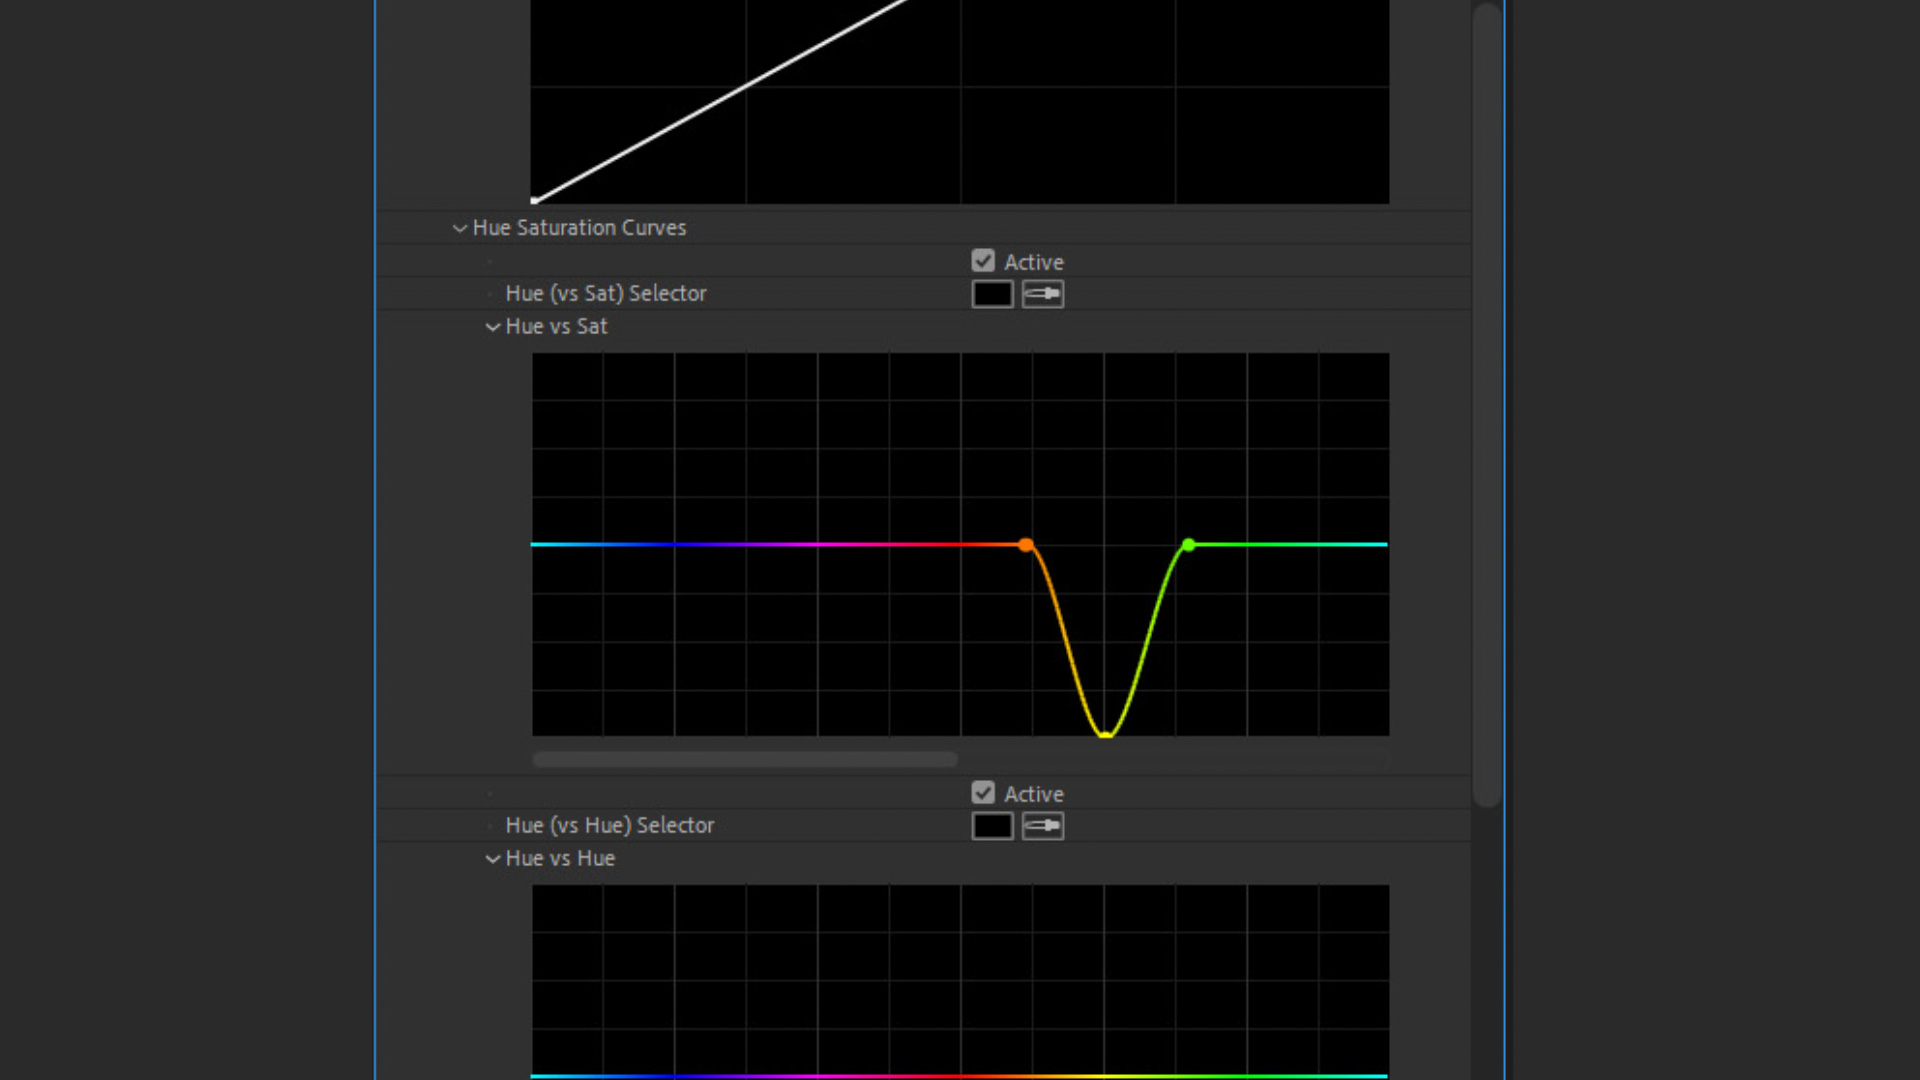
To eliminate the unwanted yellow tint from your footage, start by applying the Lumetri Color effect. In the Lumetri Color controls, head to the Curves tab and focus on the Hue vs Sat curve (which maps Color Hue against Saturation).
Next, create three points on the Hue vs Sat curve, specifically at the Orange, Yellow, and Green sections of the curve.

Once your points are set, simply drag the yellow point downward on the curve to reduce yellow saturation.
Adjust it at least halfway down or fully, depending on your specific shot needs.

Your final result should yield footage that appears “cleaner,” eliminating any problematic yellow tint affecting the whites or other objects in the scene.

Correcting White Balance Issues
This approach can also be used to remedy footage suffering from improper white balance that gives whites an orange hue. Adjusting the white balance directly in post might not yield as satisfactory results as simply removing the yellows.

Apply the Lumetri Color again, and on the Hue vs Sat curve, create points as before on the Orange, Yellow, and Green areas. You might want to position the yellow point more toward the orange section for optimum effect.
Now, simply drag down the yellow point to remove both the yellow and orange tints. This should produce a more natural and cleaner white balance.

Additional Tips for Using Lumetri Color
If you’re looking to explore more techniques for color grading with Lumetri Color, check out our video tutorial: Get Better Results Using LUTs with Lumetri Color in Premiere Pro.
Interested in the royalty-free tracks we used in this video? Give them another listen!
License this cover image via Uesiba.


